Friday, March 30, 2012

Andy told us to open the 'Book of Secrets'... so we did!

So my Mother's Day present for my dear Mum this year was a workshop at The Stamp Attic called the 'Book of Secrets' which was a day of steampunk awesomeness taught by Andy Skinner; I hadn't been familiar with Andy's work before spotting his class on the Stamp Attic website but the techniques he uses are AMAZING so check his blog out here!  He also has a range of stamps which are fab too, I can't wait for the release of the new fairground ones which you can see on his Facebook page here.
Top view of my 'book'!
We did have to leave the class a little earlier than we'd expected but thankfully lovely Wendy sent me a few photos of the class to share :)
Wendy's workshop space at The Stamp Attic all ready for class

Wendy and Gayle in happy smily crafty pose

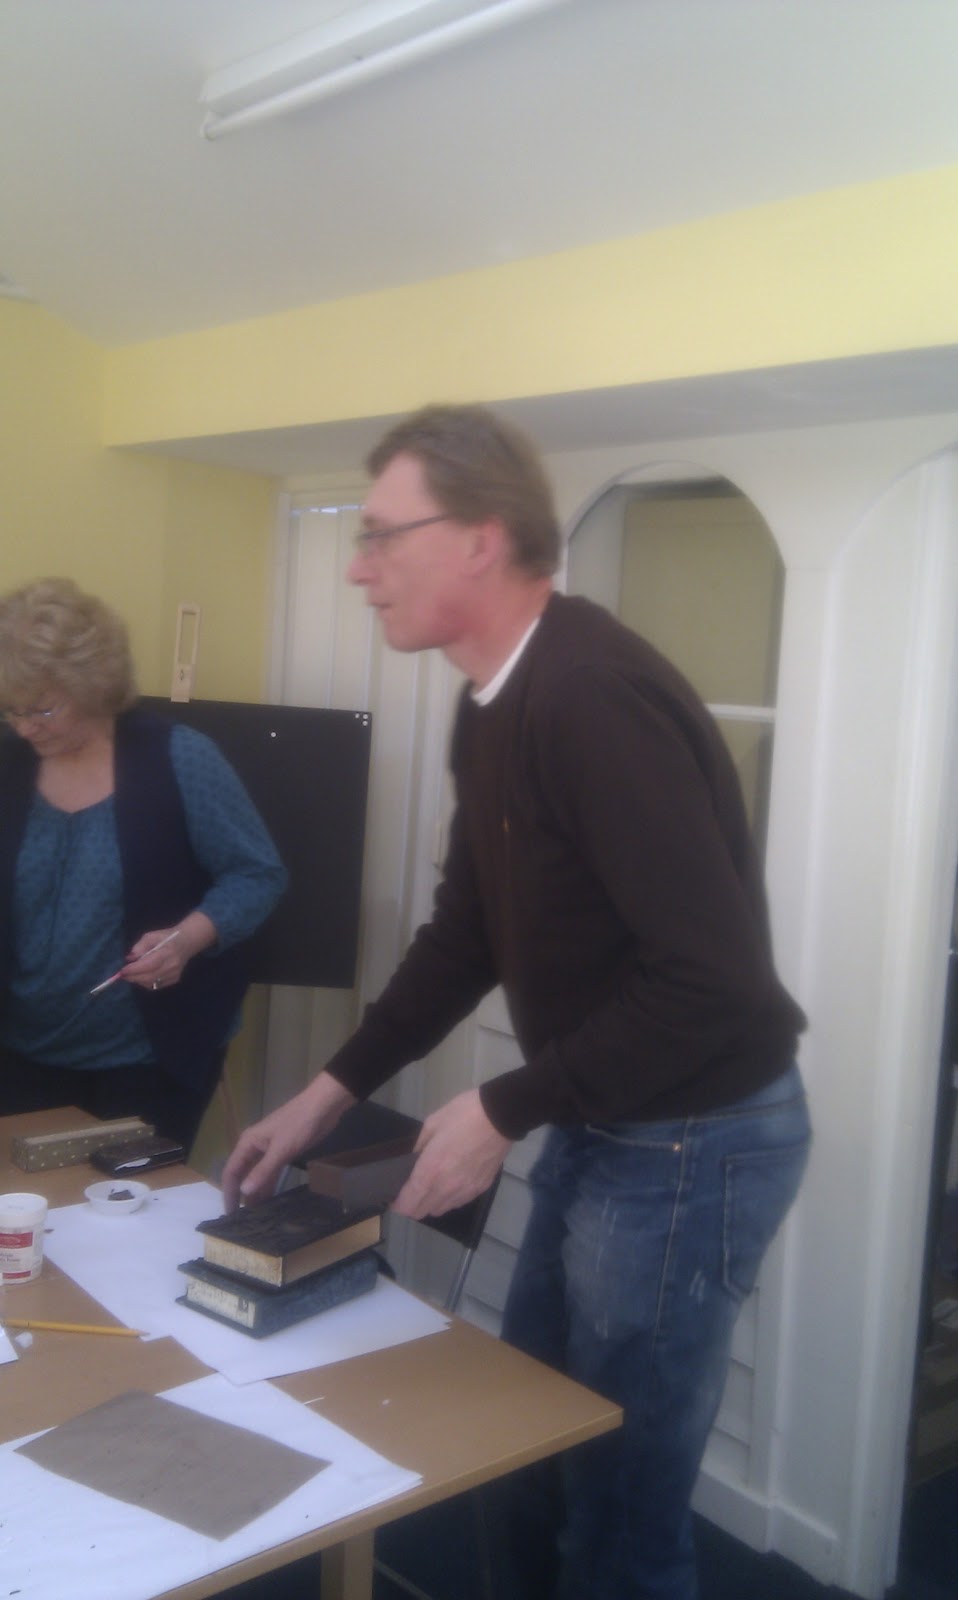
Andy Skinner teaching!
I spent the day absolutely boggled at this amazing thing forming in front of my eyes!  We started out with a book-shaped wooden box, some card, paints, and a few die cut embellies.  Andy walked us through putting the whole thing together and bit by bit you forgot it was ever made up of those component parts because it just turned into this gorgeous, rusty, steampunk book!  Absolute genius :)  We'll definitely be looking out for some more of Andy's classes!

We picked up some class kits of the paints we used, I can signpost you to look for drybrushing techniques on Andy's blog if you want to see how we built up the layers, and to look for some of the die cuts on the Stamp Attic site.  I added a few Tim Holtz Idea-logy safety pins and an 'altered' dog tag when I got home after I messed about adding some more paint :)
Pardon the photos, was waiting to catch the sun here in Wales and then the camera battery ran out before I was finished! lol
Rather than opening like a traditional book, the spine slides out to reveal a drawer inside for goodies :)

Have a wonderful weekend, especially to Kristin and Julie from The Scrappy Tree who are spending the weekend at a retreat with some good scrappy friends of ours!  Have fun girls!!

Gayle xx


Wednesday, March 28, 2012

Post Binding Mini Album Tutorial

Hello, Diana here with this months tutorial, a week late but here it is. First I would like to talk about my mini albums theme "29 Days of Love", this is a fun series hosted by Alissa Fast in the month of February, and this year I decided to play along.


My first post binding album is very similar to our regular scrapbooking albums. 


These Posts are the stars of this tutorial, you can purchase them separately at a craft store or gather the leftover ones you have from the packages of plastic sleeves used for scrapbooking albums. 


To make the front and back covers you'll need to cut from a piece of carton 2 pieces of 8.5" X 4" and 2 pieces of 1" X 4".


I used a piece of velveteen fabric for my covers, you can also use paper. Position the pieces of carton as shown, glue them to your fabric making sure to leave a gap between the two pieces of carton.
Cut the corners of the fabric and fold the edges onto the carton. Repeat these same steps with the second cover.


Cut a 9.5" X 3.5" piece from pattern paper. Glue this to the inside of the cover. I had some leftover paper with a border that I glued to the top for extra decoration.


Punch out the holes in the small hinged area, it is recommended to first make the holes on the album pages and then use that as a template for the cover.


This is the back cover, position the posts and start adding your pages from back to front.


Once all the pages are in, screw the final piece of the post.


I used legal size cardstock to make the inside pages, I first cut my paper to a 8" width, and then scored a 1" line on the right side, this is important for your pages to flip easily. 


From that paper I cut out 3.5" pages.


Here are a few of my finished pages, I used paper and some embellishments from Crates Random Collection.


Alissa gave us a prompt for each day, for some I used photos I already had and for others I took new photos.


As usual I used the same design for each page, this is something I like to do to give the album a uniform look and it also helps me work faster.


Here is another view of the finished album. 


And this is how it looks open.


With this method it is very easy to flip through the pages.


And your pages are very secured.


My Second album has a simple post binding.

Score a line on the left side of your front cover and pages. Punch the holes on your paper and covers. Put the post through the back cover, album pages an finally front cover, screw the front piece.


Here is a side view, the posts make a nice decoration


Well, as always I hoped I was able to bring some inspiration to your day.

Till next week!

=Di


Friday, March 23, 2012

Girly vintage tag

So.... I'm not really sure where this tag came from!  I'm not usually one for girly or pink but was playing with this K&Co oversized tag one night and this is what happened!  I added a vintage image, some pink and white buttons, vintage lace, a Prima flower, Tim Holtz key and some ribbon, and embellished with some sparkly Stickles and some small pearls.

I'm slightly at a loss as to what I should do with this girly tag, so if anyone would like to offer her a home, please let me know! ;)

Hope you're looking forward to your weekend, I know I am!

Happy scrapping ;)

Gayle xx

Wednesday, March 21, 2012

More layouts using Sketches

Hello, Diana here, my post today should have been about a mini album tutorial, but I did not finish it in time;  I'll be back next Wednesday with a complete tutorial on how to make a Post binding Album :)

I've said this before, I am a big fan of Sketches, especially Kelly Purkey's, I purchased her Sketchpad  class last year but I did not have time to make any layouts until a few weeks ago, I think that is the beauty of sketches, it helps me work faster.

On this layouts I played again with pocket sleeves.  


I know one of our dilemmas as scrapbookers is to not get behind on putting our memories on paper, so I'm glad I got Christmas done ;)


KP has a new class at Studio Calico, you can sign up Here, she always has amazing and talented guests :)

Hope to see you there.

Till next week

=Di


Sunday, March 18, 2012

Happy Mother's Day

Wishing all the UK mums a very happy Mother's Day!  My project to share with you today is the card I've made for my Mum :)

I combined a vintage image with some stamping and tissue tape, and embellished with little bits and pieces from my stash.


And for a gift?  Well, we're off to the Stamp Attic next Saturday for some more crafty fun :)
Love you Mum!

Have a wonderful day wherever you are :)


Gayle xx

Wednesday, March 14, 2012

Pinterest Inspiration

Hello, Diana here with another Pinterest inspiration post.

This is the gallery wall in my Scraproom, I call it the Pinterest wall because not only did I get inspiration from there to make the gallery but also to make 4 of the pieces in it.

If you like those Map Posters you can buy them Here The Etsy shop name is Poppy & Pinecone.


Here are the images that inspired me:

Source: Jenny Chesnick Blog

Source: notonthehighstreet.com

Source: The Parish Fam Blog

And a close up of what I made:

I bought all of these frames at vintage shops and spray painted them.

This is my favorite one, I used paper from Crate's Portrait collection, American Crafts Yellow Thickers, Pink Paislee's white alphas and the cute camera is from the first Amy Tangerine collection.

These two frames already had the pre-cut mats, and fortunately the blue looks good with the maps I used. The Alphas are from Pink Paislee and the Flair from American Crafts.


And finally the Empty Frame, there are so many different images of this type of frame that I am sure going to be making more.


Hope you all have a great day, till next time.

=Di


Monday, March 12, 2012

Washi Tape Organization

Hello everyone!  It's Julie here!  If you are anything like me, you struggle with organization.  You would like things to look nice, have their proper place, be accessible, etc.  I have struggled with a good way to store my Washi tape other than piling it in a bowl which for me just doesn't work.  I like to see each tape without digging through it.  So, as I was redecorating my scraproom, I came across my sewing drawer filled with old wooden thread spools.  I thought, "hey!  Maybe these could work!"  And work, they did!!  Here's where I keep my Washi tapes:

I apologize for the blurry photo.  I took this with my phone!

This close up of the spools shows you just how I organize them.  The centers of the tape rolls are small enough so they don't slip off the other end of the spool when I pick them up to look at them.

Do you have a way you organize your tapes?  We'd love to hear how you do it!

Thanks for stopping by!


Friday, March 9, 2012

Hels told us to 'Get Arty'... so we did!

Happy Friday Scrappy Tree-ers!  Today I have a post to share with you about my first ever crafting class, which I attended last Sunday (if you chat with us at The Scrappy Tree Facebook Branch, you'll know we were talking about classes recently) - and this is what I made!

The workshop was called 'Get Arty' and was taught by Hels Sheridan at a rather fabby shop full of all scrappy goodness in Wantage (in England) called The Stamp Attic, which is owned by a friend of The Scrappy Tree called Wendy :)
Me and Wendy in the shop!

You can see Hels' original project here, and Wendy's post about the day here (yes I tried to distract them from my lack of scrappy skills with cake LOL) which will give you some idea of the products used - to be honest we had such a great time and were concentrating so hard it's difficult to remember the names of all the products!  There really were a lot of layers to this; painting, stamping, triple embossing, crackle varnish etc etc etc..!  I had blue Smurf fingers for two days!!


One of the best things about a class like this is that it introduces you to products and techniques that you might not have used before, and instead of trying them as you work your way through a magazine article or someone's blog step-by-step, you've got not only a live demonstration but also someone to come and rescue you when you need help! lol

Have to say that we had a wonderful time there, not only meeting Wendy and Hels but all the rest of the lovely ladies (including Caz who was a wonderful assistant!  Kept us topped up with tea and coffee and still made a beautiful creation of her own!)


Hoping you have some crafty time in your weekend :) thanks for visiting with us today, happy scrapping!!

Gayle xx

Wednesday, March 7, 2012

Sewing Machine Drawers

Hello, Diana here with today's post. Here at TST we are in Spring Clean mode, after cleaning and getting rid of unnecessary supplies the next step is to Organize and Rearrange. We all have different methods to keep our supplies at sight so we don't forget to use them, here are a few of mine.

My favorite are Vintage Sewing Machine Drawers because they are also nice decoration, I bought these two at a local thrift store that had lots of interesting treasures.


This one holds my Cotton twine and Hemp ropes.


And this one holds all my Chalk and Color box inks.


I purchased this drawer at Etsy. This one is on top of my computer desk, at hands reach because it has all my Tags.


The loops and idea to make the dividers are from 7 Gypsies, HERE are more cool ideas.


Also very close to my desk are these Ball Mason Jars that hold Washi Tape, Bakers Twine and Seam Binding Ribbon.


And there you have it, a few organization ideas.

Hope you all have a great day

=Di