Hello, Diana here with this month’s tutorial. I’ve been planning some decoration in a few rooms; with the help of Pinterest and a lot of Blogs I’ve gathered images of ideas and decoration inspiration. But since I’ve also gathered images from magazines and paint chip samples I decided to put together an Old Fashion Scrapbook, something I can write notes on or bring with me to a store so I don’t forget a color palette. Because I’ll need space my book measures 9”X12”, I used a neutral color for the inside pages.
Score a line on each page using a bone folder or a scoring board; this will make it easier to flip the pages. Punch 4 holes and tie the pages together with a piece of cotton twine, as shown in the picture. I also glued the pages on the scored part to make it even more resistant to wear and tear.

For the back use a piece of resistant carton. Glue only the scored part of the last page to the carton; make sure to put pressure on it so it sticks completely.
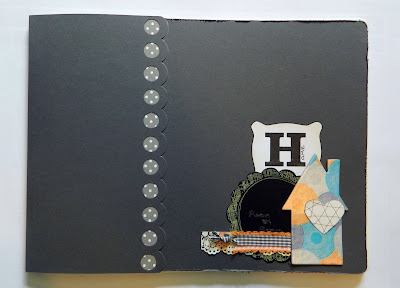
For the cover you’ll need two pieces of cardstock. Measure the Width of your book and add 4 more inches. I used a Border punch and a piece of pattern paper to decorate the part where my two papers are glued together. To make the fold for the Spine measure the thickness of your pages and score it on the cover, this should leave a 3-3.5” flap.

The last step is to glue the flap of the cover to the back of the book.

Here are a few examples of the inside; I used a pen, glue stick, some decorative tape and my dymo.


5 Scrappy thoughts:
I really like how you made your own scrapbook and it's a wonderful idea!
~Julz
Di, you should be a designer! I could have totally used one of those for my wedding :) love your organisation!
This is such a great idea. I should have done something like this when we were building our house!!! I love how you did the cover!
What scrap punch are you using?
sorry - sent that before I finished my thought; what border punch? I was linked to your blog through pinterest, great stuff!
Post a Comment